|
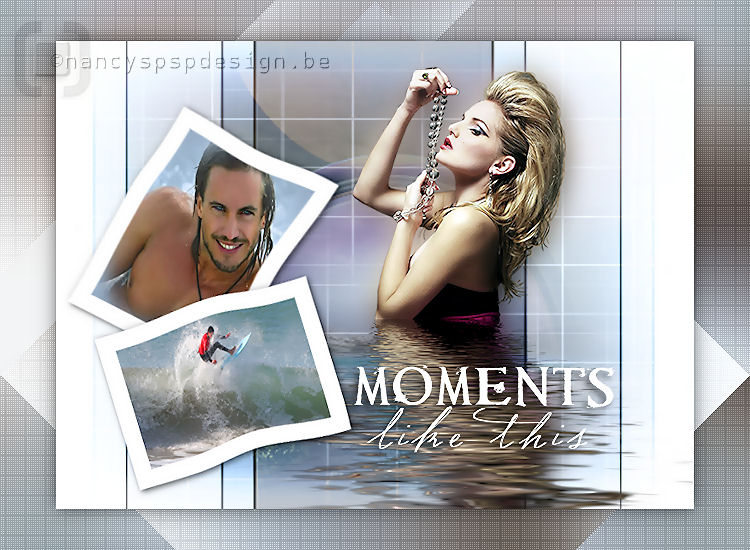
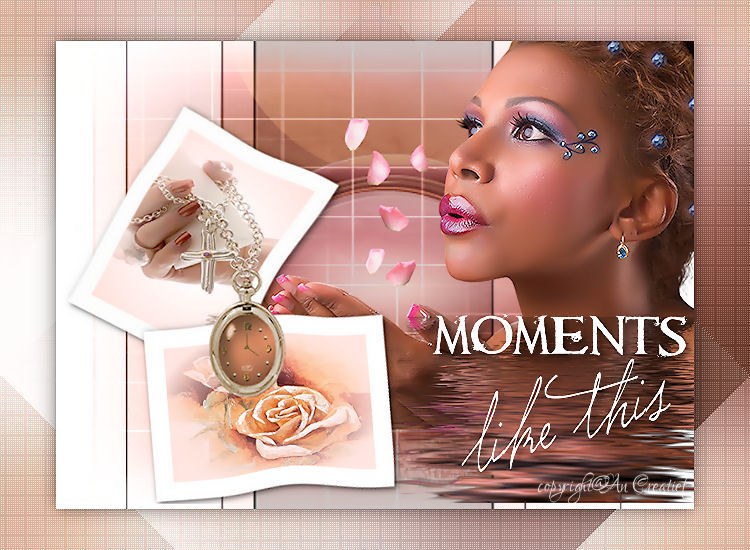
Moments like this
You can find the materials here. Some images I use are group-shared. If anyone knows of the artist, please let me know. Thanks to the artists and the tubers for their hard work. The tubes are from Yoka and Mallu. Supplies: Filter Flaming Pear, Flood, here.
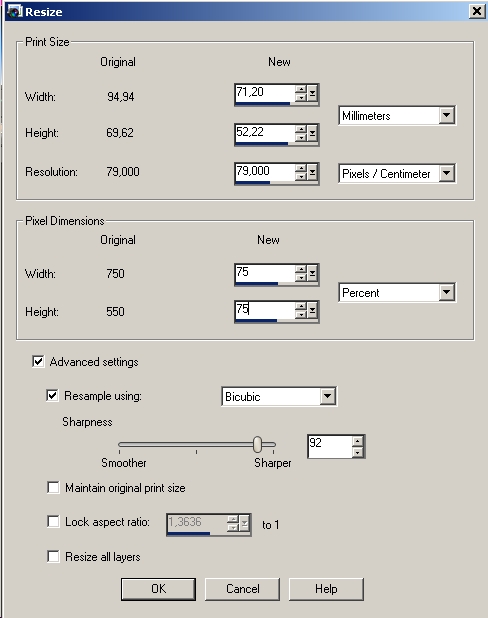
Preparation : Take the arrow to know where you are in the tutorial. 1. File - New Image, 750 x 550 pixels, transparent 2. Put the foreground color to #adbdce and the background color to white 3. Fill with foreground color 4. Selections, Select all 5. Layers, New raster layer 6. Open the image marke22 7. Copy and paste into selection 8. Layer palette, Blend mode, Luminance (Old) 9. Layers, New raster layer 10. Open the image crazzi 11. Copy and paste into selection 12. Layer palette, Blend mode, Hard Light 13. Layers, New raster layer 14. Open the image hmo_galaxy, copy and paste into selection 15. Layer palette, Blend mode, Soft Light 16. Selections, Select none 17. Open the tube Yoka-string140107, copy and paste as new layer 18. Image, Resize, 75 percent, all layers not checked
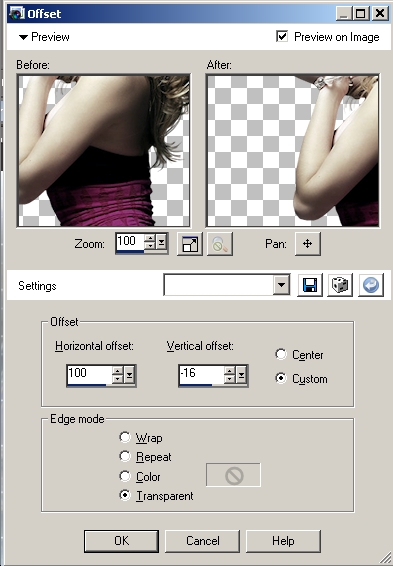
19. Effects, Image effects, Offset as follows, 100, -16
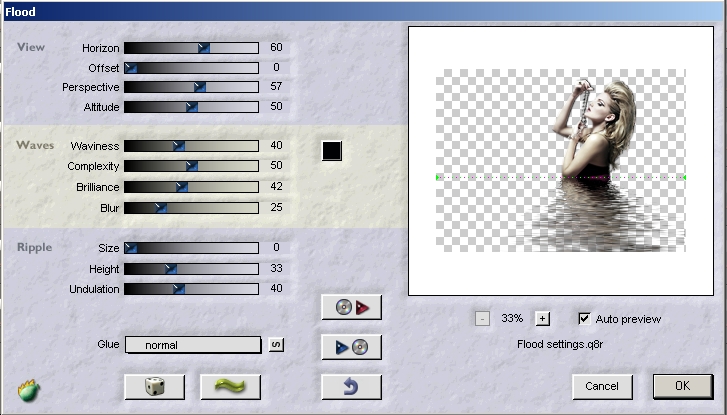
20. Duplicate this layer 21. Select in your layer palette the bottom layer of these two layers 22. Adjust, Blur, Gaussian blur, 15 23. Select in your layer palette the top tube layer 24. Effects, Plugins, Flaming Pear, Flood, as follows
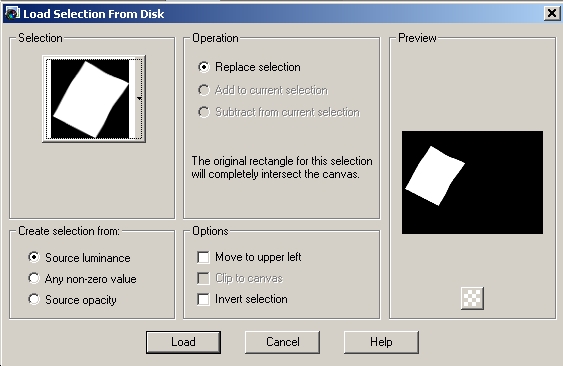
25. Layers, New raster layer 26. Selections, Load/Save Selection, Load Selection from disk 27. Find the selection NVFrame001
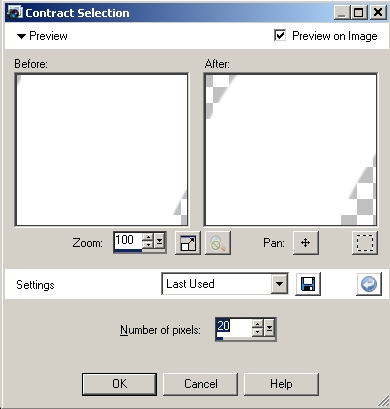
28. Flood fill the selection with the white background color (right click) 29. Selections, Modify, Contract, 20 pixels
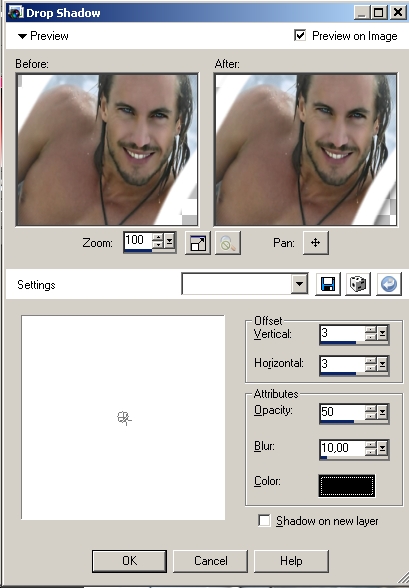
30. Open the image mallu.misted.masc, Copy and paste into selection 31. Selections, Select none 32. Effects, 3D-Effects, Drop Shadow, 3, 3, 50, 10
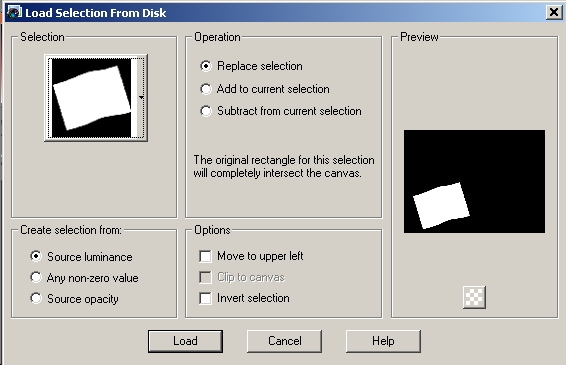
33. Effects, 3D-Effects, Drop Shadow, but now with -3, 0, 10, 10 34. Layers, new raster layer 35. Selections, Load/Save Selection, Load Selection from disk 36. Find the selection NVFrame002
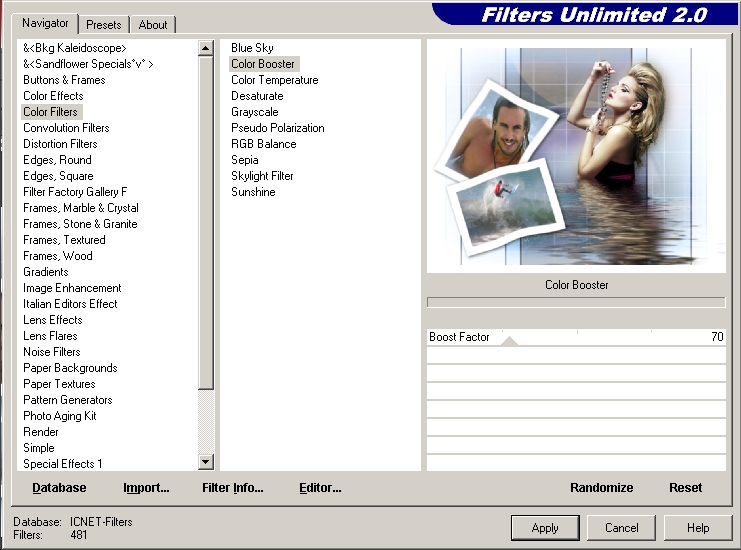
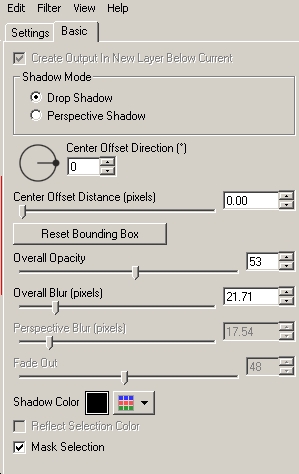
37. Flood fill the selection with the white background color 38. Selections, Modify, Contract, 20 pixels 39. Open the image surfing, Copy and paste into selection 40. Selections, Select none 41. Effects, 3D-Effects, Drop Shadow, 3, 3, 50, 10 42. Effects, 3D-Effects, Drop Shadow, but now with -3, 0, 10, 10 43. Layers, Merge, Merge visible 44. Effects, Plugins, Filter Unlimited, Color Filters, Color Booster with following settings 45. Layers, Duplicate 46. Image, Resize, 85% 47. Effects, Plugins, Alien Skin, Impact, Perspective Shadow, Basic, as follows
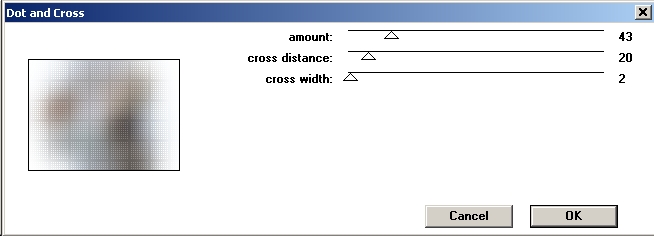
48. Select in your layer palette the bottom layer 49. Adjust, Blur, Gaussian blur, 60 50. Effects, Plugins, Penta, Dot and Cross, as follows
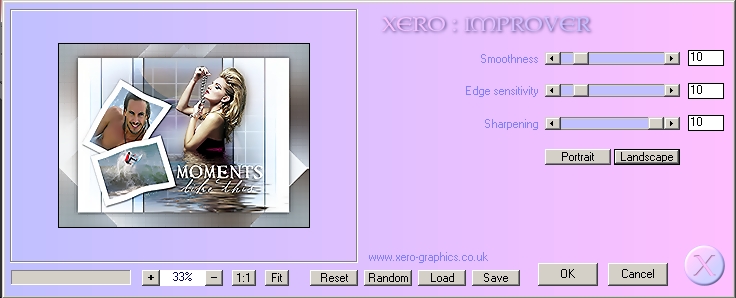
51.Effects, Plugins, Simple, Blintz 52. Repeat Effects, Plugins, Simple, Blintz 53. Select in your layer palette the top layer 54. Layers, New raster layer 55. Activate the text tool and choose the font Requiem, size 56 pixels 56. Lock the foreground color 57. Type your text ‘Moments’ and put it as shown on example 58. Activate the text tool again and choose the font Sudestada, size 60 pixels 59. Type the second text ‘like this’and put it as shown on example 60. Layers, Convert to Raster layer 61. Effects, 3D-effects, Drop Shadow, vertical 4, horizontal -4, Opacity 50, Blur 10, color black 62. Layers, Merge, Merge visible 63. Effects, Plugins, Xero, Improver, 10, 10, 10, landscape
64. Don't forget your signature and save as a JPG. This is an extra example made by An Creatief
Lesson Moments like this was especially written for fotocreaties and updated on January 30, 2009.
This site is © Copyright Nancyspspdesign.be 2007-2008, All Rights Reserved |
|
| ar |
