|
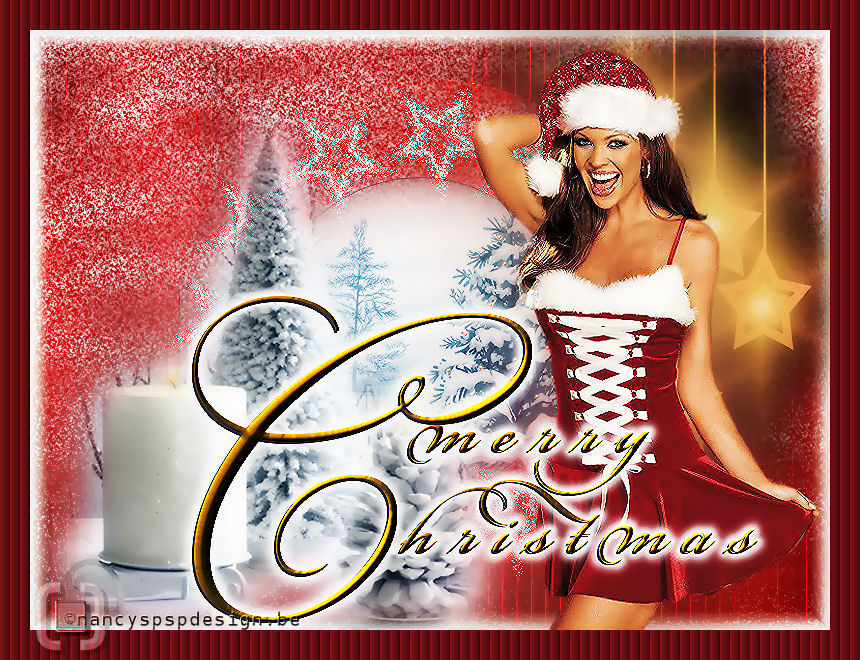
Christmas
For the materials, click here. Some images I use are group-shared. If anyone knows of the artist, please let me know. Thanks to the tubers and the artists for their hard work.. The tubes are from Dieter and Marion, Sischu, Tinou and Fredo’s Design.
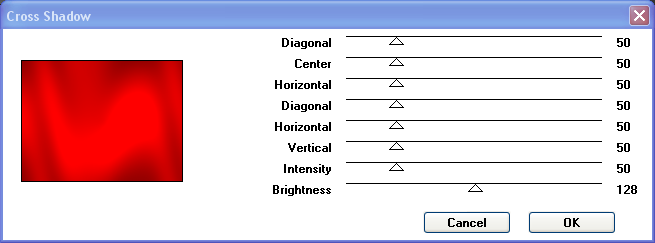
Supplies: Filter Graphics Plus, Cross Shadow, here Take the arrow to know where you are in the tutorial. 1. File, new image 800 x 600 pixels transparent 2. Put your foreground color to #CB0000 and fill the layer with it 3. Effects, plug-ins, Graphics Plus, Cross Shadow as follows
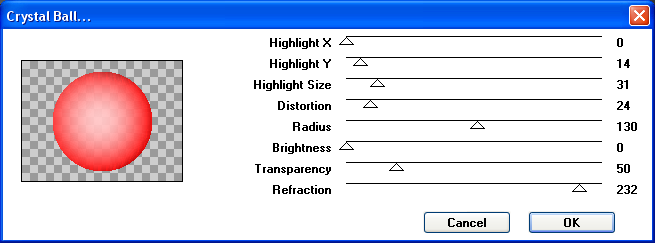
5. Layers, Duplicate 6. Effects, plug-ins, VM Toolbox, Crystal Ball as follows
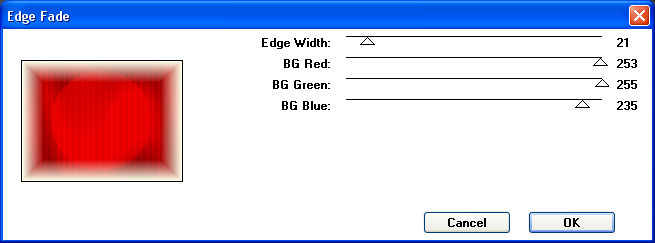
7. Layer palette, blend mode soft light 8. Layers, Merge, Merge down 9. Effects, plug-ins, ECWS, Edge Fade as follows
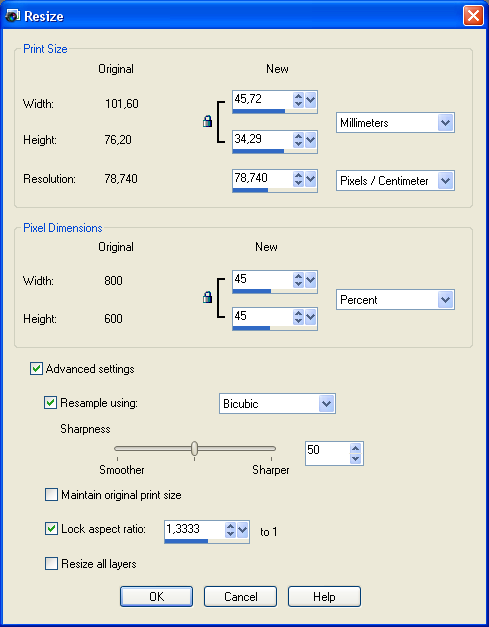
10. Take the bubble NVBubble2008 11. Copy and paste as new layer 12. Layer palette, opacity at 63% 13. Open the tube mds7250stern08.11.07 and select the top layer 14. Copy and paste as new layer 15. Image, Resize, 45% Resize all layers not checked
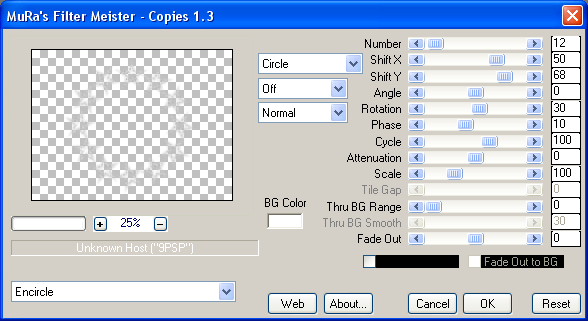
17. Open the tube TUBES TINOU(22) 18. Copy and paste as new layer 19. Open the tube hiver_TubeFredoDesign-7122008-03 20. Image, Resize, 130% 21. Copy and paste as new layer 22. Effects, Image effets, Offset as follows
23. Select in your layer palette the bottom layer 24. Effects, plug-ins,, Eye Candy 5, Nature, Snowdrift as follows   25. Open the tube x-mas_4_star_lights_TbS 26. Copy and paste as new layer 27. Effects, Image effects, Offset, 223 – 0 28. Select the top layer in your layer palette 29. Open the tube Gra_a_br_1253 30. Copy and paste as new layer 31. Position the tube as shown on example 32. Layers, Duplicate 33. Select the bottom one of these two layers 34. Adjust, Blur, Gaussian blur 97.00 35. Select in your layer palette the top layer 36. Lock the foreground color and switch the background color to #FEDD5A 37. Activate the text tool and choose the font BickhamScriptFancy, size 100 pixels 38. Type the capital C 39. Switch the size to 40 pixels and finish your text (tracking 0,055)
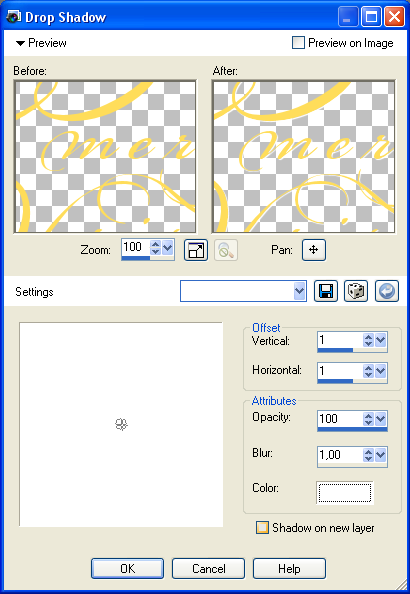
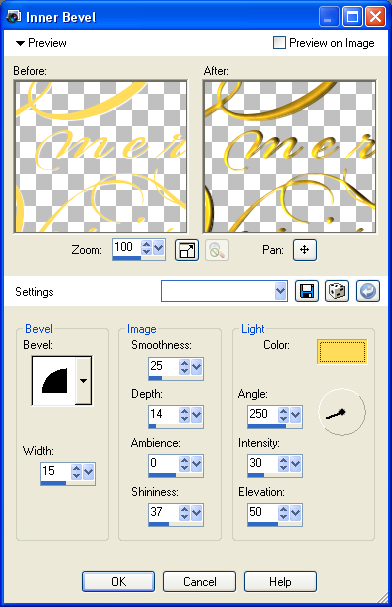
40. Layers, Convert to rasterlayer 41. Effects, 3D-effects, Drop shadow as follows
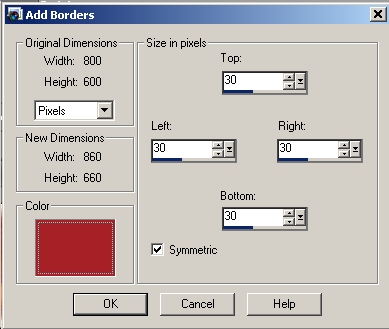
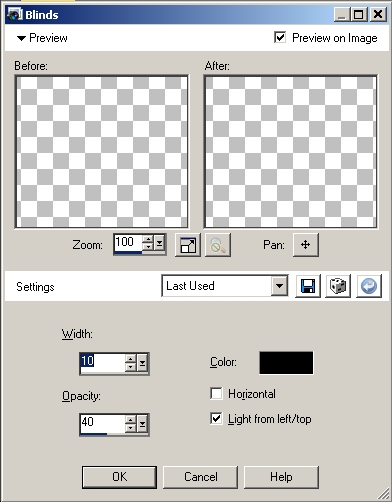
45. Select this border with the magic wand 46. Effects, texture effects, blinds as shown below
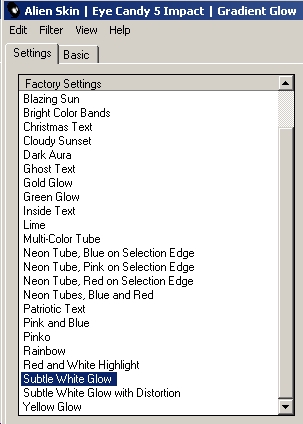
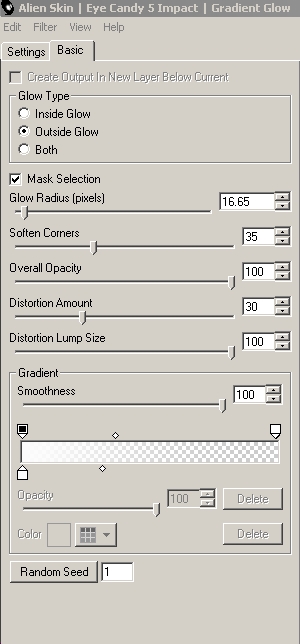
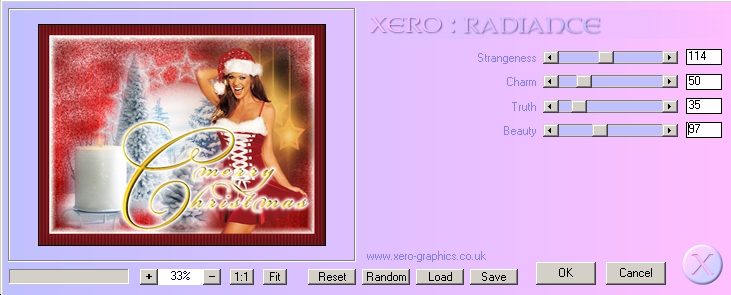
47. Selections, select none 48. Effects, plug-ins, Xero Radiance, as follows
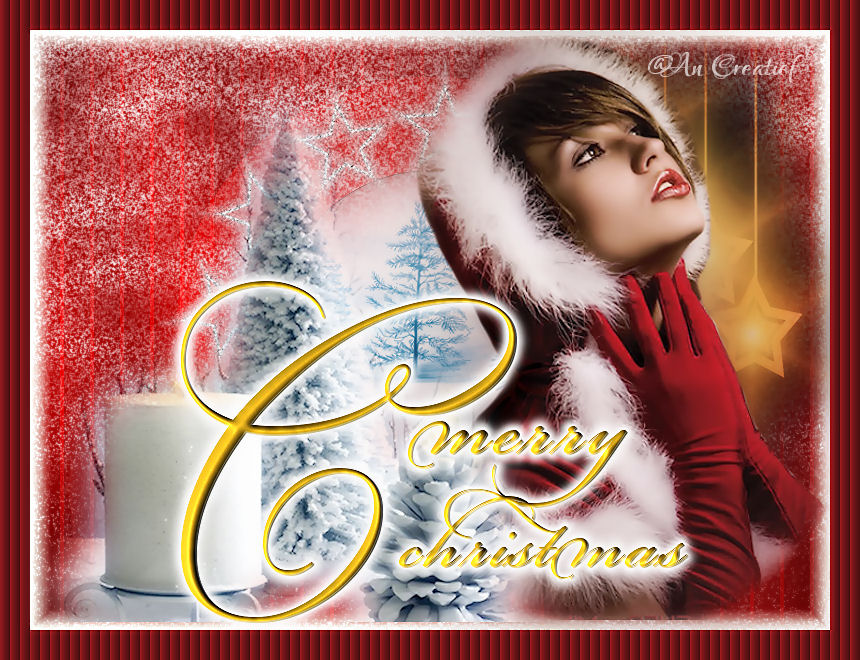
Extra example made by An Creatief
Lesson Christmas was written on December 23, 2008
This site is © Copyright Nancyspspdesign.be 2007-2008, All Rights Reserved |
| ar |
